How to Build Z-Scale Curtis Bros Plumbing Supply Co. pt. 6
Laser Cut Multi-media Kits for Craftsman Model Railroaders
Back to Part 5 - Adding Windows and Doors
Part 6 - Bracing the Walls
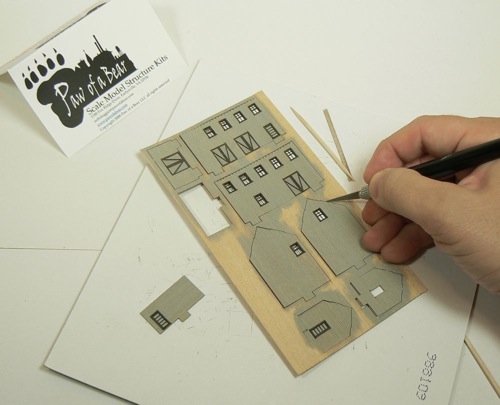
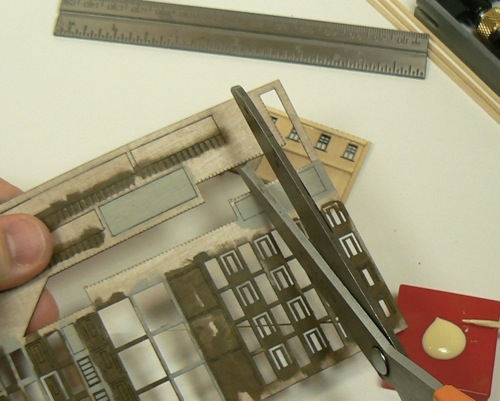
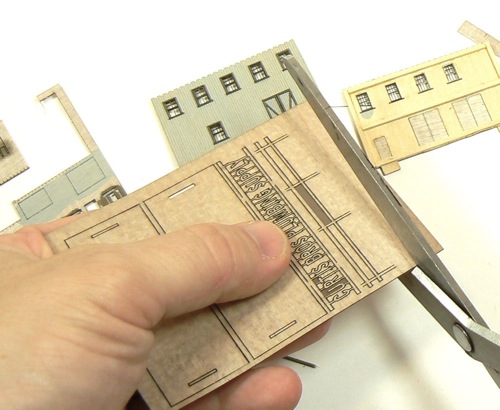
Cut the walls loose from the carrier sheets using a chopping motion. Slicing increases the chance of splitting the wood.
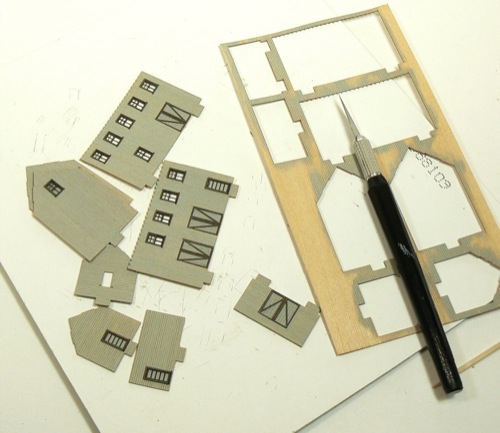
Here are the parts all cut loose.
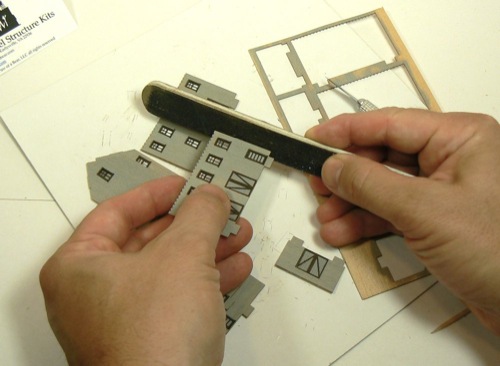
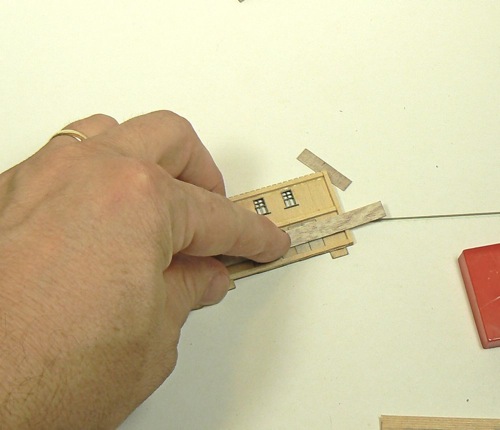
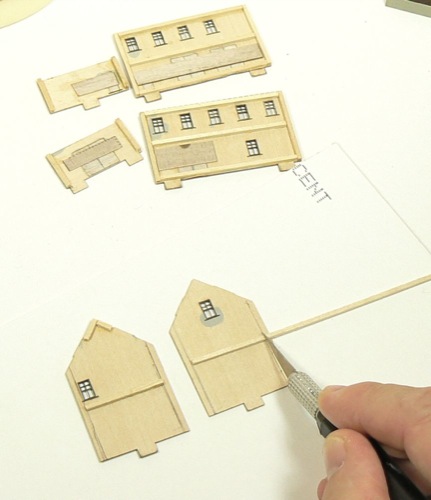
Use a sanding stick to clean up the edges of the walls.
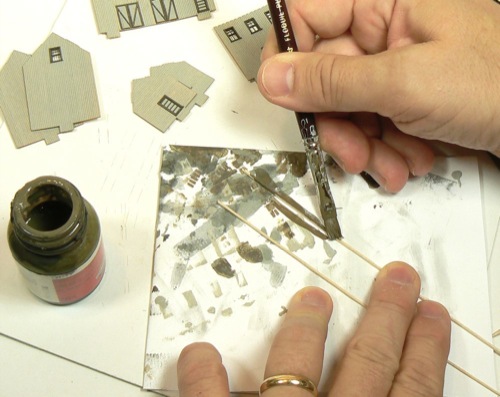
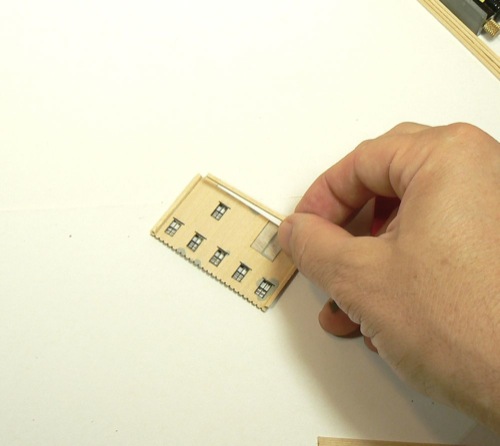
Paint the 1/32" trim with PolyScale Dirt. Set aside and allow to dry.
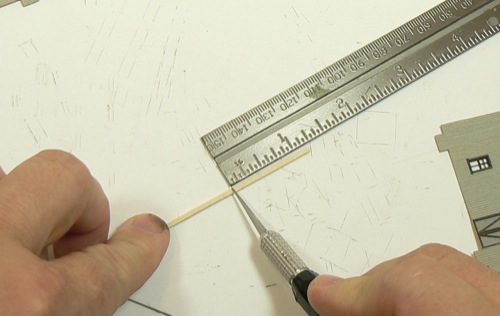
Cut four (4) 1/16" basswood strips 1 1/4" long.
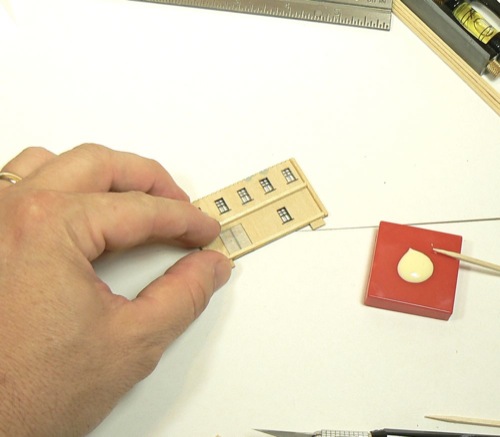
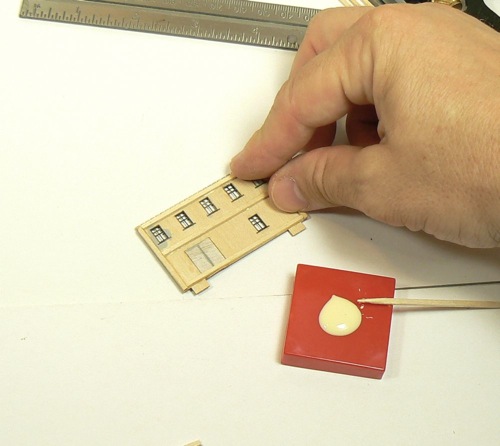
Apply glue to bracing. I started with white glue and switched to yellow carpenters' glue because the carpenters' glue dries faster. If you are really impatient, use CA..
Glue the bracing so that it is even with the edge of the wall.
Measure the exact length of the bottom, middle, and top braces using the two end bracings.
Glue in place. Align with the bottom of the wall
Add the middle bracing. Allow space for 1/64th plywood scrap bracing.
Glue the top bracing in place being sure to leave the rafter tail cutouts clear.
I like to apply the glue, touch the part to a bit of wax paper and then glue it in place.
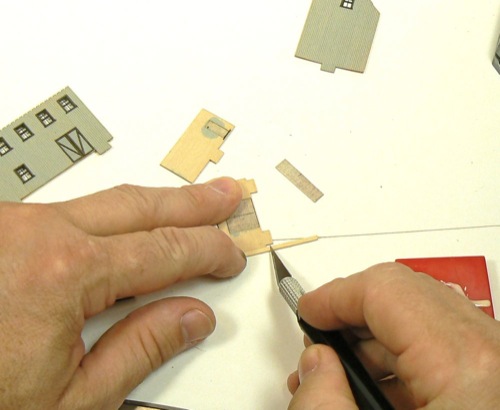
Trim some of the 1/64th plywood carrier sheet to glue behind the doors.

Glue the bracing in place.
Cut another strip of 1/64th plywood scrap. This one needs to be longer than the first.
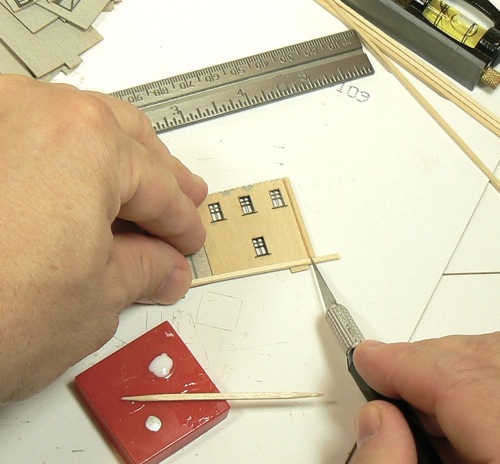
Measure to length on the model.

Glue in place.
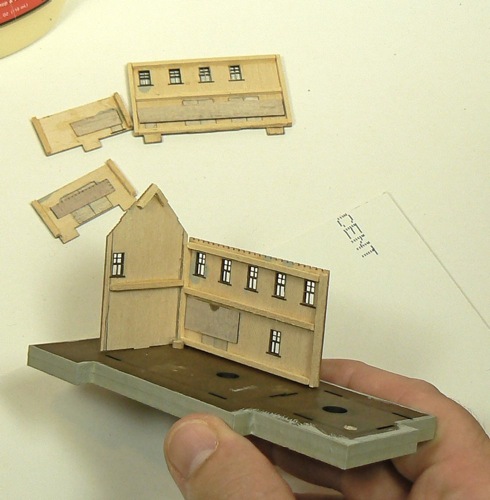
Use the small side walls to measure the bracing to length.
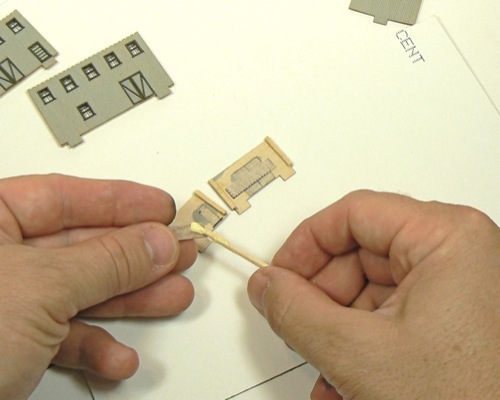
Apply scrap bracing behind the doors.
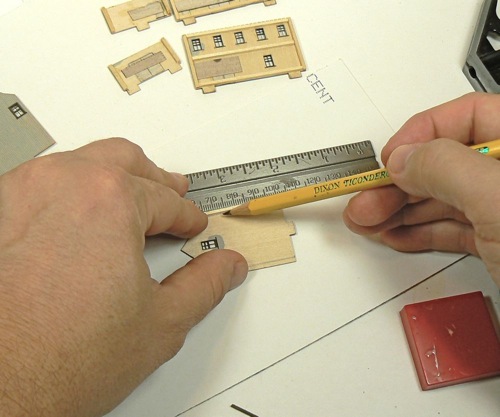
Set a length of 1/16" along the edge of the wall. Mark off the line with a pencil.
Do the same on the other end wall.
Measure a piece of bracing using the lines you have just drawn as guides.
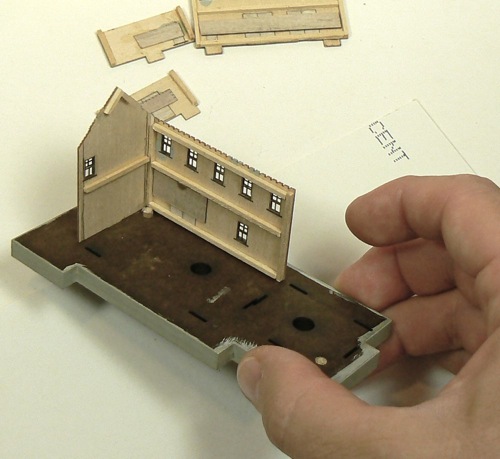
Fit the end wall and side wall in place to make sure the parts fit well. There should be a 1/32" square gap at each otuside corner.
Add some bracing along the angle of the roof. I used two pieces of 1/16" basswood about 1/4" long
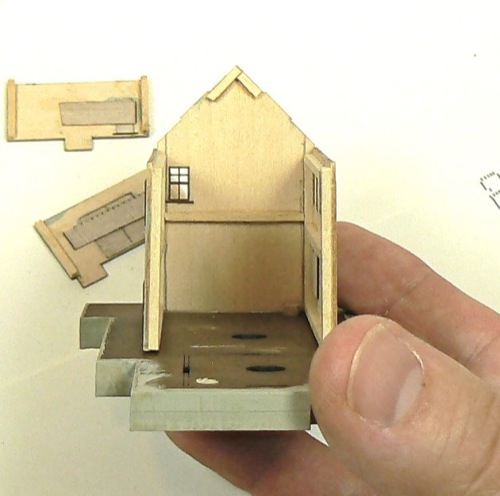
The inside corners should fit snugly.
- Introduction
- Painting
- Distressing Dock
- Building Base
- Windows &: Doors
- Bracing
- Cornerposts
- Covered Stairs
- Signs
- Weathering
- Walls
- Roof
- Shingles
- Chimney
- Awning
- Final Details
Paw of a Bear News
![]()
Some model railroading sites that I regularly read and highly recommend.