How to Build Z-Scale Curtis Bros Plumbing Supply Co. pt. 5
Laser Cut Multi-media Kits for Craftsman Model Railroaders
Back to Part 4 - Building the Base
Part 5 - Adding Windows and Doors
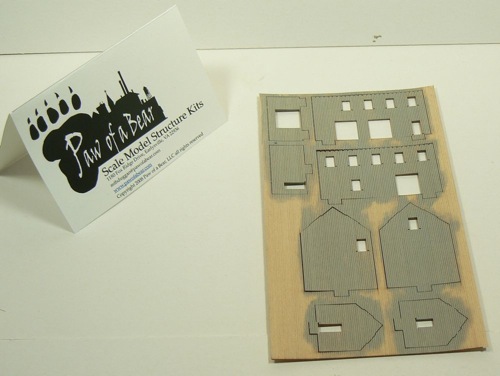
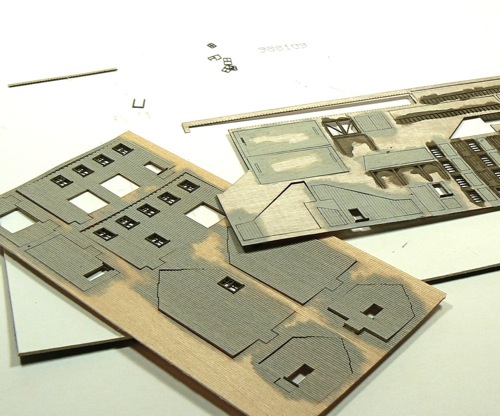
Set the slightly warped walls in their carrier sheet easily to hand.
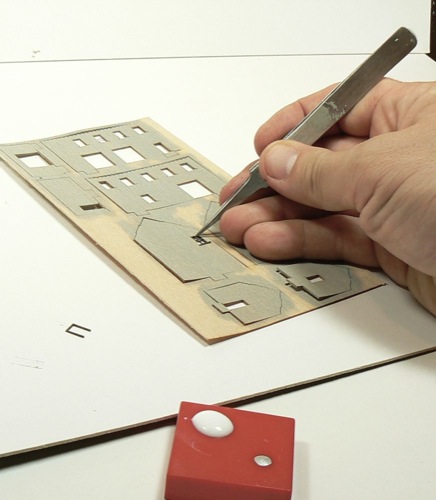
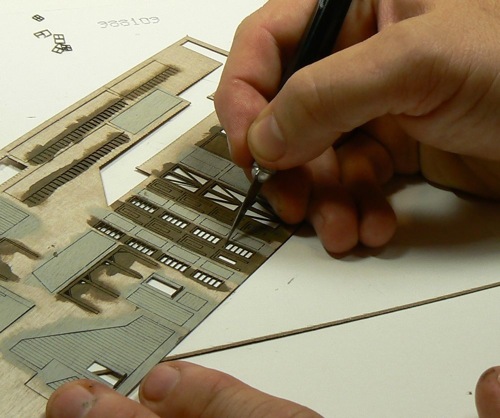
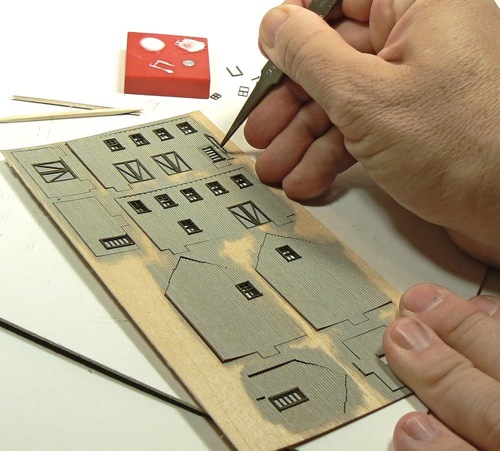
Cut out the window parts. Either do one window at a time or do one part at a time. Use a new, sharp blade. Use a chopping motion to remove the windows from the carrier sheet. If you slice, the windows get tugged and because they are so thin, they are likely to break.
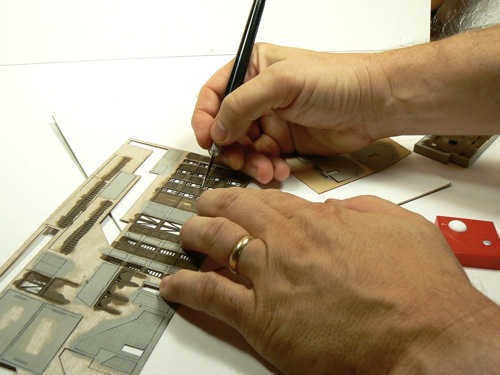
Test fit the sill, then glue in place with white glue or yellow carpenters' glue.
Test fit the lower sash, then glue in place with white glue or yellow carpenters' glue.
Test fit the upper sash, then glue in place with white glue or yellow carpenters' glue.
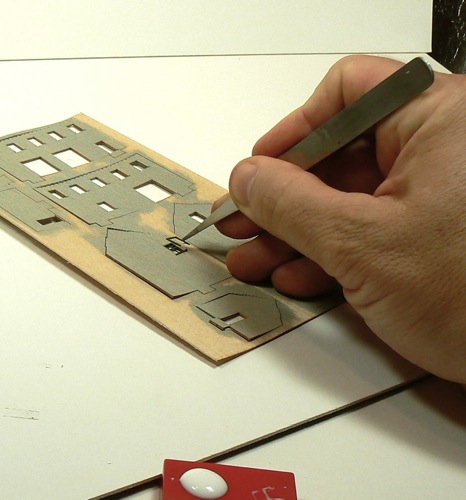
Finally, apply the trim.
I like to cut out all the sills and glue them in place.
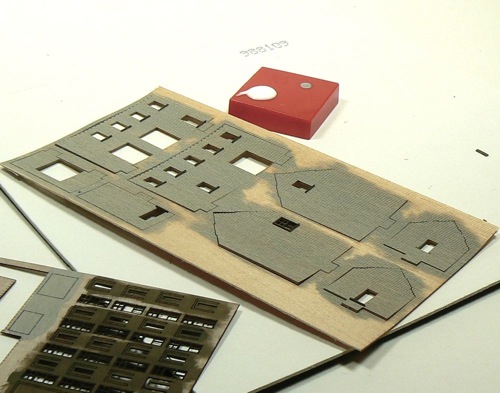
Here are the walls with all the sills.
Then I added all the lower sashes. Then all the upper sashes. Then all the trim.
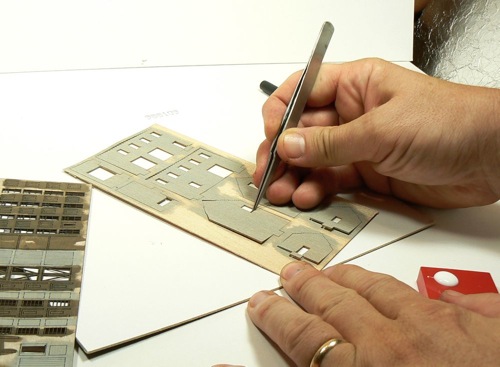
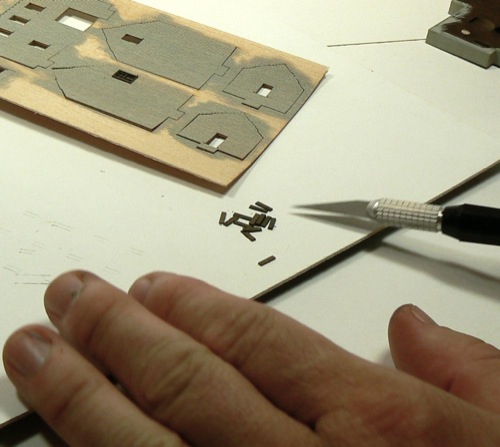
Next cut out the door trim. Use a chopping motion. Slicing tends to break the parts.
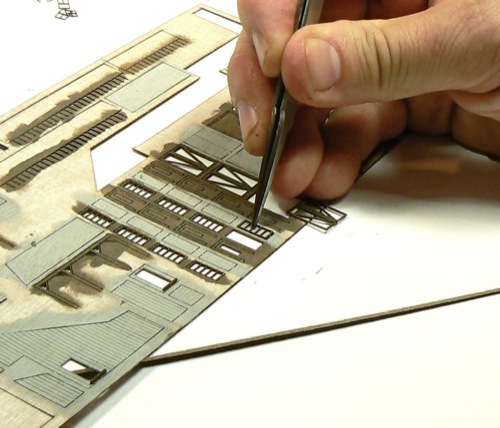
Then glue the trim/bracing onto the door back. Do not use much glue or you will wind up with glue filling the panels.
I like to apply the glue, touch the part to a bit of wax paper and then glue it in place.
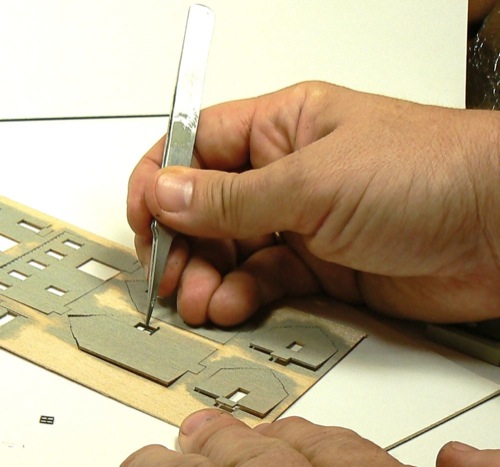
The warehouse doors fit together in the same manner.

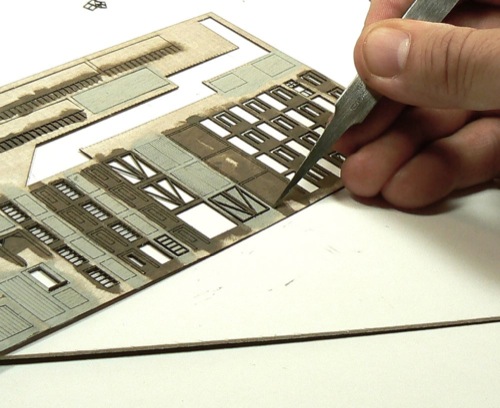
All the doors with trim/bracing in place.

Use a sanding stick to remove any bits of the attatchment points that are left.
Apply glue to the edges of the doors and glue them in place. Once in place, apply the trim to the five panel doors.
Do not apply the trim to the warehouse doors at this point in the build.
- Introduction
- Painting
- Distressing Dock
- Building Base
- Windows &: Doors
- Bracing
- Cornerposts
- Covered Stairs
- Signs
- Weathering
- Walls
- Roof
- Shingles
- Chimney
- Awning
- Final Details
Paw of a Bear News

![]()
Some model railroading sites that I regularly read and highly recommend.