How to Build Z-Scale Curtis Bros Plumbing Supply Co. pt. 11
Laser Cut Multi-media Kits for Craftsman Model Railroaders
Back to Part 10 - A little weathering
Part 11 - Assembling the Walls
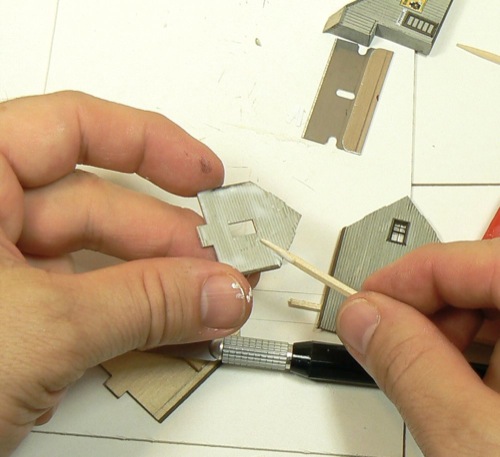
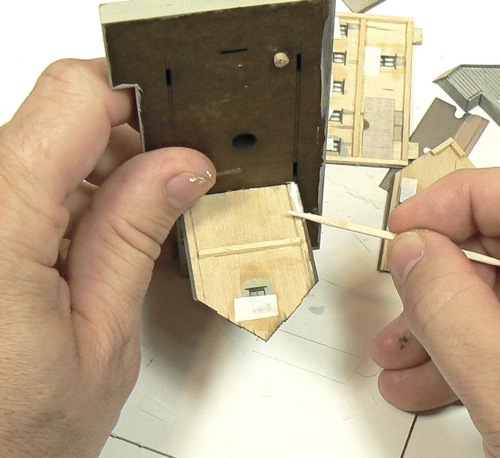
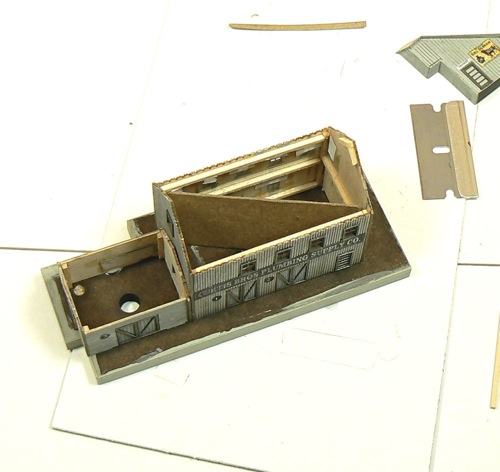
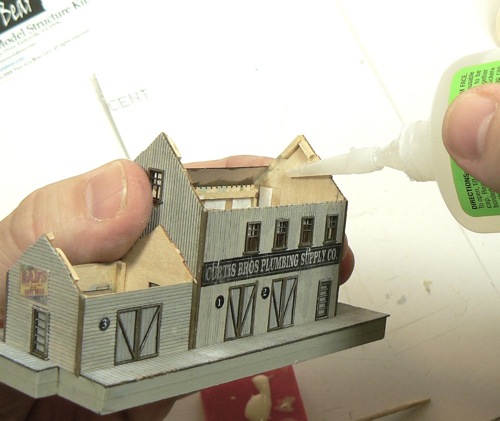
Apply a coat of white glue to the addition end wall (W6).
Fit the addition end wall (W6) and the main building end wall (W2) together.
Align the bottom edges and the platform side cornerposts.
Before the glue sets, slip the parts into the slots in the base to ensure that you have the walls aligned properly. (W6).
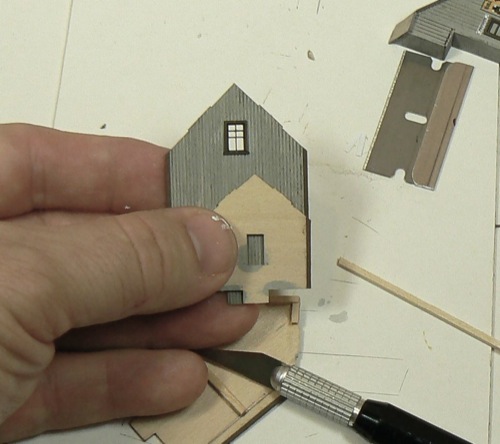
Apply glue to the tabs and to the bottom of the end walls (W2 & W6). Glue into the slots in the base.
Apply glue along the edge and corner-post of the end wall (W2).
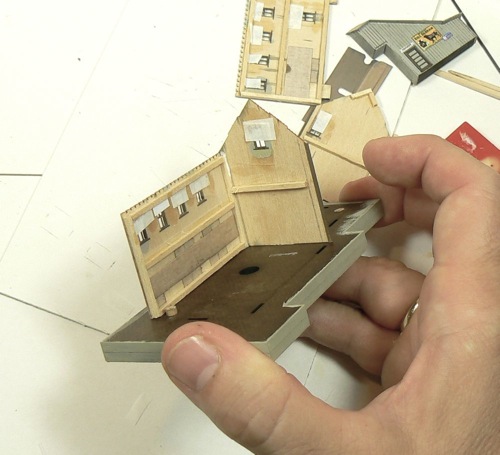
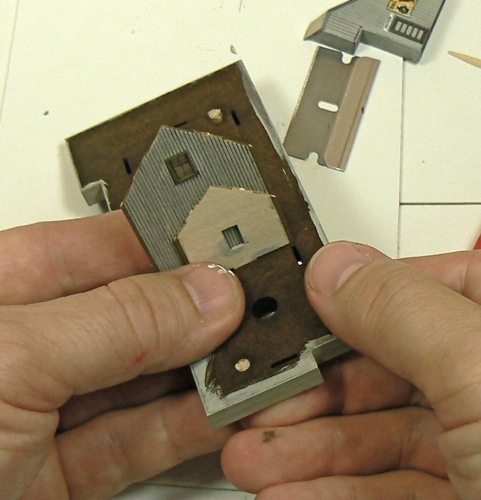
Apply glue to the tabs and bottom of the side wall. Slip the wall into the slots and align with the corner-post on the end wall.
Do the same with other side wall.
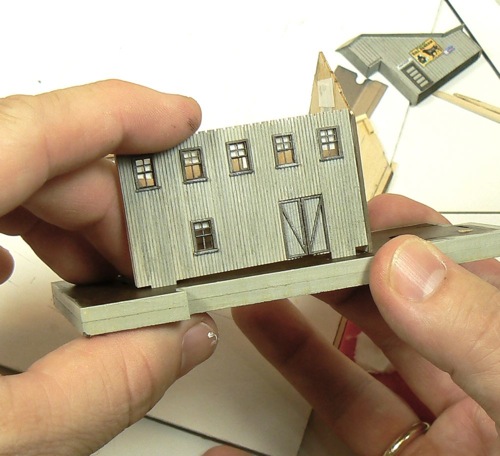
Apply glue to the ends of the side walls.
Apply glue to the tab and bottom of the end wall, slip into place, and align with the corner-post of the side walls.
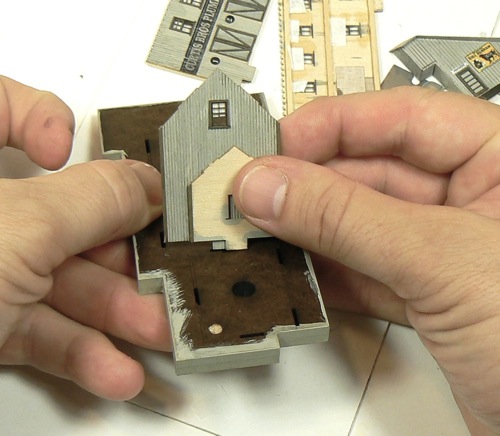
The addition should be built the same way. Glue the side pieces in place then the end piece.
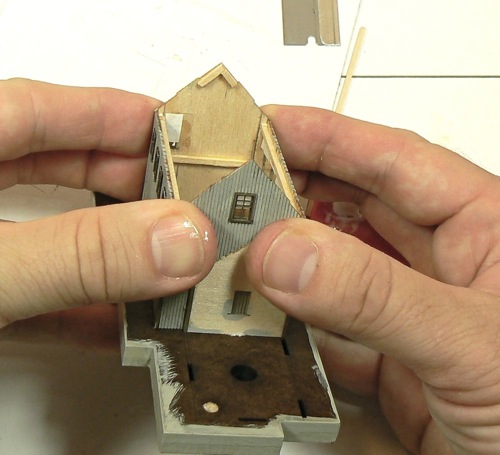
You can add a view block using cardboard or construction paper. Set the paper at a diagonal and glue in place.
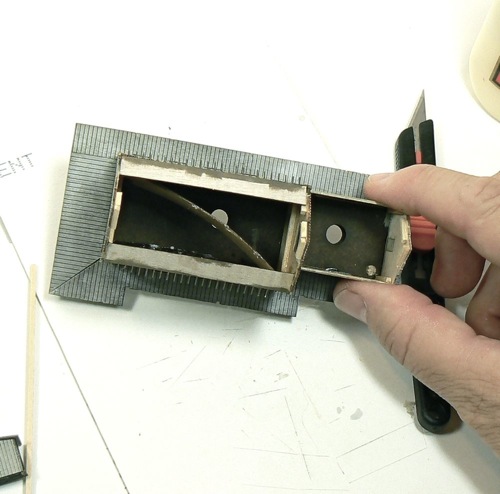
Now that walls are in place, you can add the loading docks.
Coat the loading dock with yellow carpenters' glue.
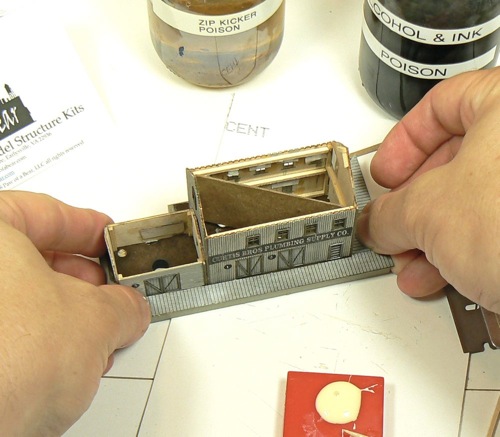
Slip the loading dock in place and hold it tightly in place.
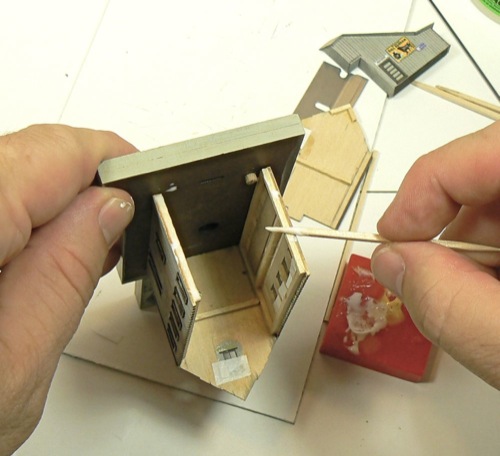
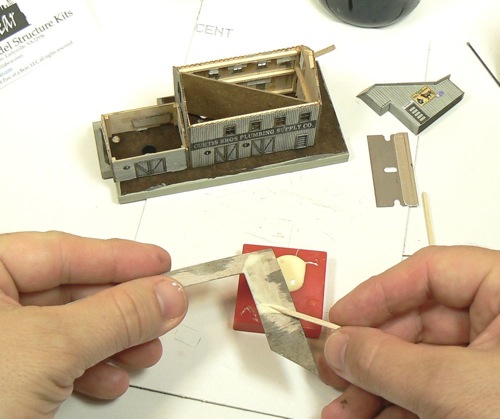
Next, you need to add the rafter tails.
Slip the rafter tails into place.
I used CA to get a quick bond.
Be sure that both rafter tail pieces are below the top edge of the end pieces or they will interfere with the roof panels.
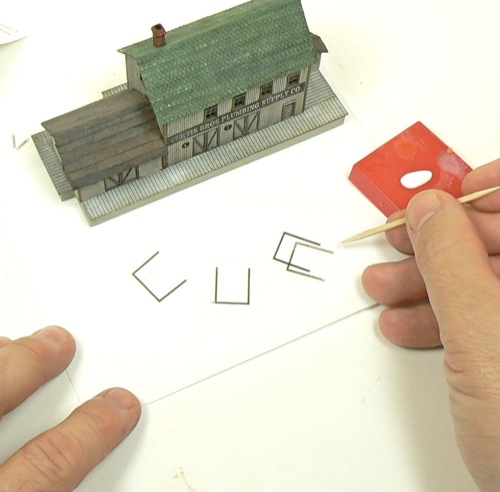
Now that the loading docks are in place, apply the trim around the warehouse doors.
- Introduction
- Painting
- Distressing Dock
- Building Base
- Windows &: Doors
- Bracing
- Cornerposts
- Covered Stairs
- Signs
- Weathering
- Walls
- Roof
- Shingles
- Chimney
- Awning
- Final Details
Paw of a Bear News

![]()
Some model railroading sites that I regularly read and highly recommend.