Masking Tape Jigs
The Frugal Scratchbuilder
Masking tape is one of my favorite model making tools. I use it to hold small parts while I glue; I use it to hold castings for painting; I even use it for masking. Below I will show how I use low-tack masking tape as a jig for building a wooden loading dock for just about any model railroad structure. I'm working in Z-scale but the techniques apply to any model railroad scale.
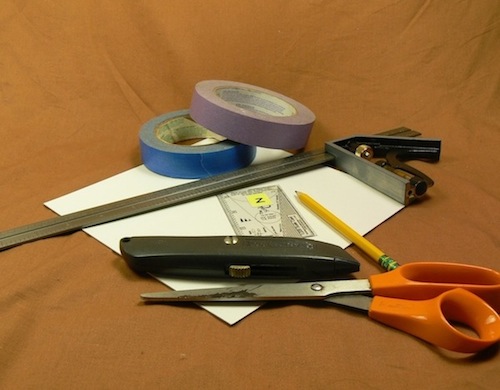
The first step in making these jigs is the purchase of supplies and collecting your tools.
- a piece of matt board
- a carpenters square or t-square
- low tack masking tape (I use 3M purple tape)
- a sharp pencil (really, sharpen it while you work)
- scissors large and small - quality matters
- a matt knife
- a scale rule (I'm using a Z-scale ScaleCard)
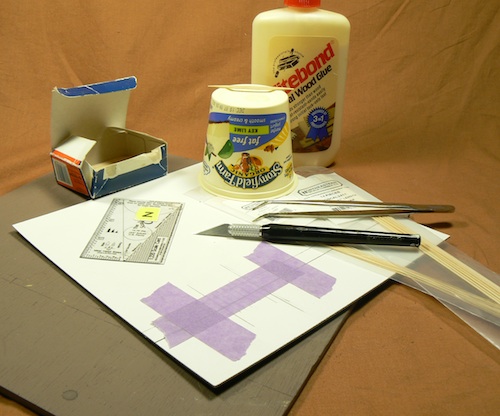
For the dock, you will need-
- prestained stripwood of a size appropriate to your scale
- glue of your choice (I like Titebond Wood Glue or Titebond Molding and Trim Glue)
- toothpicks (for applying glue and prodding recalcitrant strips of wood)
- weights (to hold your work tight as the glue dries)
- a #11 hobby knife
- a NWSL Chopper is optional but handy
The second step is to make sure that your matt board is square. Check the corners with your carpenter's square. If they are not all 90 degree angles, you must recut the corners. Choose a side of the matt board. Then, using your carpenter's square, cut a line perpendicular to that side. Now turn the matt board so that you can butt the carpenter's square to the edge you've just cut. Repeat this process until you've worked around the matt board. At this point, you should have four 90 degree angles. By doing this, you will create a surface upon which you can make reliable parallel lines and right angles. Do not skip this step!
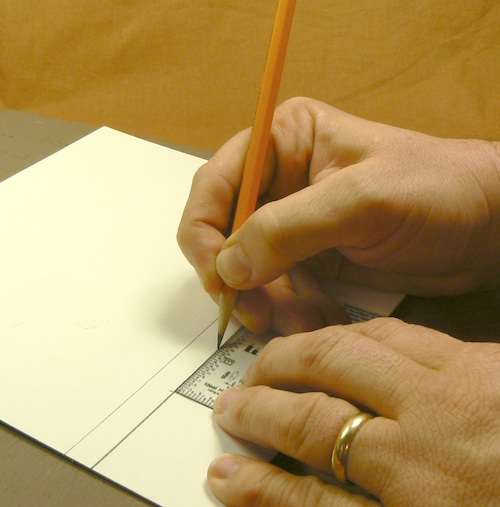
The third step is the layout of the guidelines for your loading dock. Using a square, draw a line across the sheet. Then, using the scale rule, mark eight scale feet away from that line.
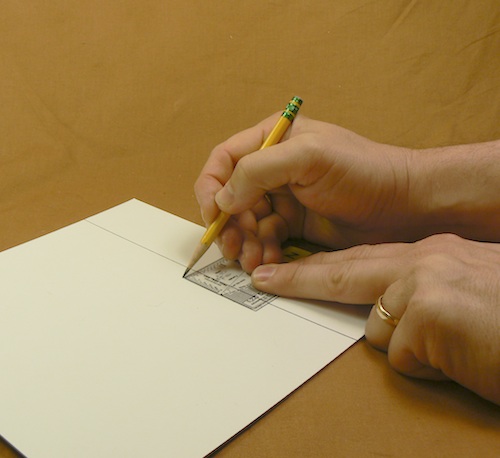
Using that mark as a guide, mark a parallel guideline. At this point you should have two parallel lines that are eight scale feet apart. This gives you the width of your loading dock.
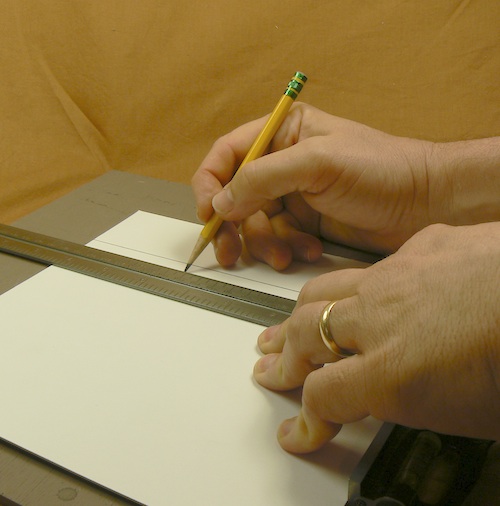
Now, using the square, draw a perpendicular line across the two lines you've just made. For example, to make a dock that is twenty-one scale feet long use your scale rule to mark twenty-one feet.
Then, using that mark as a guide, draw another perpendicular line.
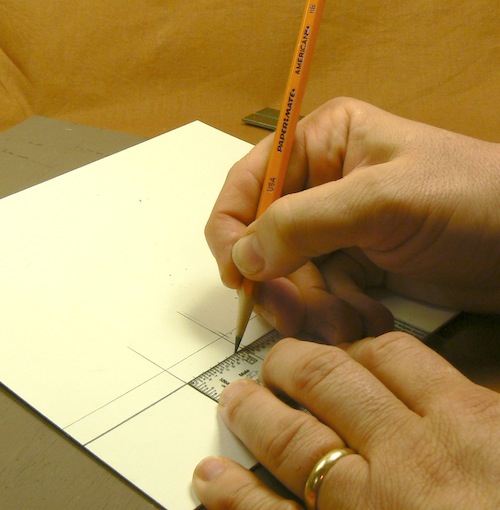
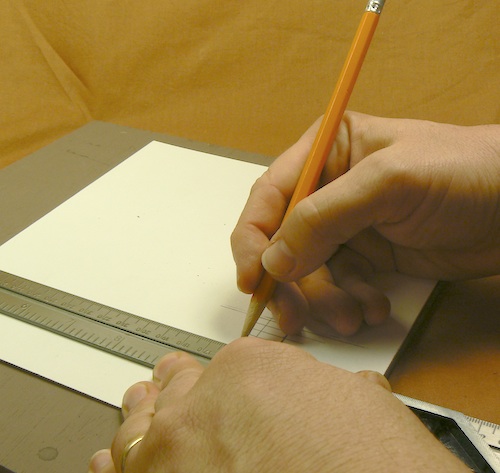
Next, mark off the beams. Using the scale rule, mark off the intervals appropriate to your project. For example, I marked lines three scale feet apart for the joists on this dock. Be sure to mark your lines across the matt board. You want to be able to see them even when the dock area is covered with wood. You will also be able to use them as cutting guides.
Now that the lines are drawn, the next step is to cut some tape.
Because I'm building Z-scale modle railroad structures of late, I tend to use the purple 3M low-tack masking tape. When I do HO scale buidlings, I often use full strength tan masking tape. With both kinds of tape, I generally stick the sticky side to my forehead to pick up some oil and make it less tacky. I hope that you will forgive me if I do not show a photograph of this process.
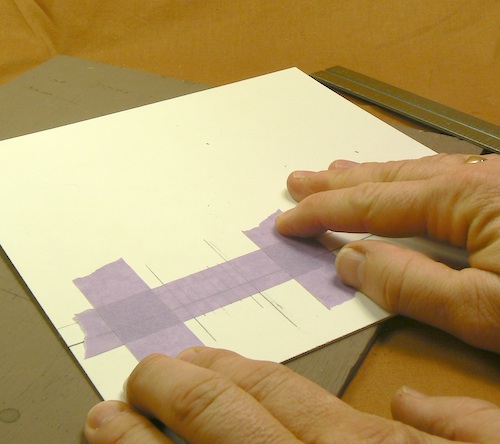
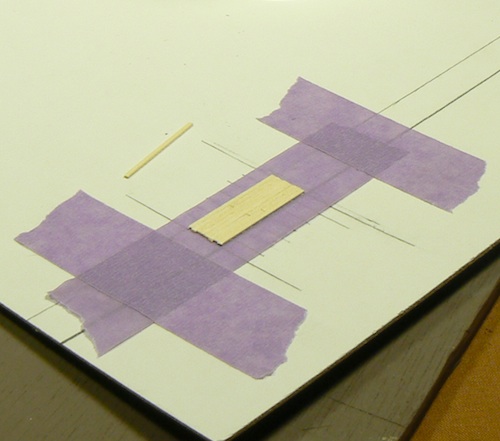
You'll need three pieces of tape: two short (about three to four inches) and one long enough to cover the dock area. Lay the long piece sticky side up over the pattern. Tape one end down carefully.
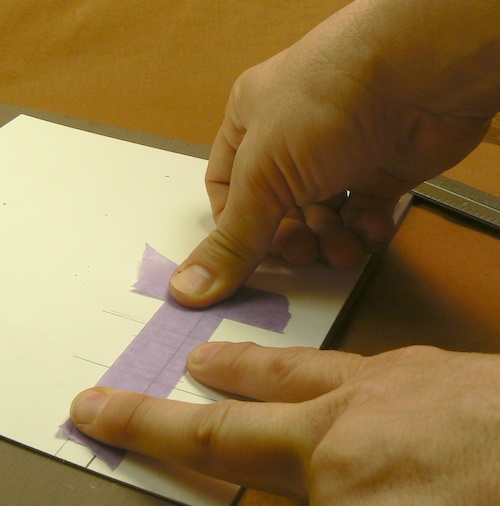
Then tape down the other end. It is important to keep the sticky surface flat and taut.
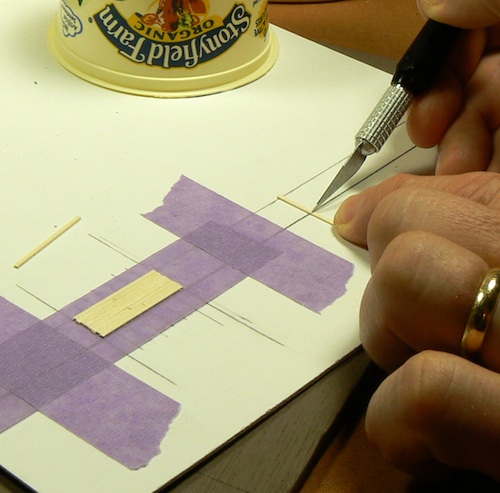
Now that the jig is up (I'll pause for groans), cut decking boards using the guidelines for joist placement that you earlier marked .
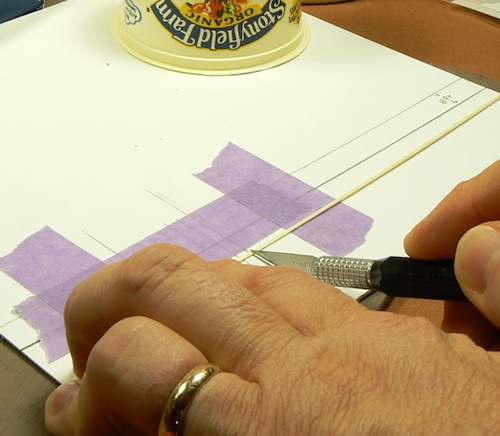
I like to use some variation in the board lengths to add character and visual appeal to the model.
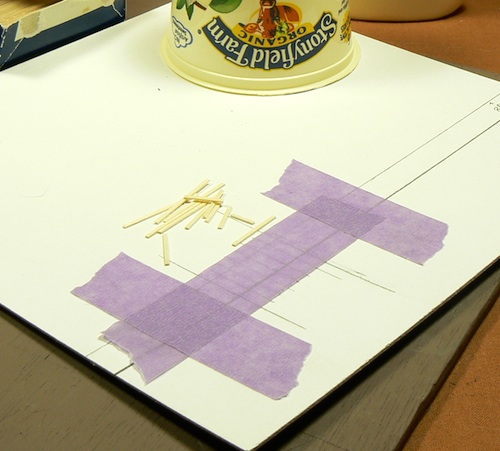
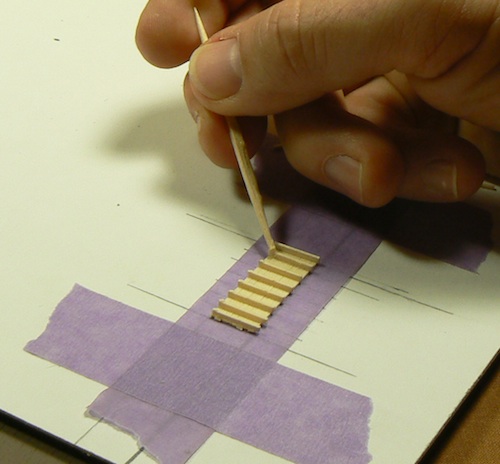
Using the sharp end of a #11 knife, pick up the boards and set them in place on the tape.

Mix up the board the length but make sure that the ends rest on joists.
With the boards in place, you are now ready to add joists to the decking.
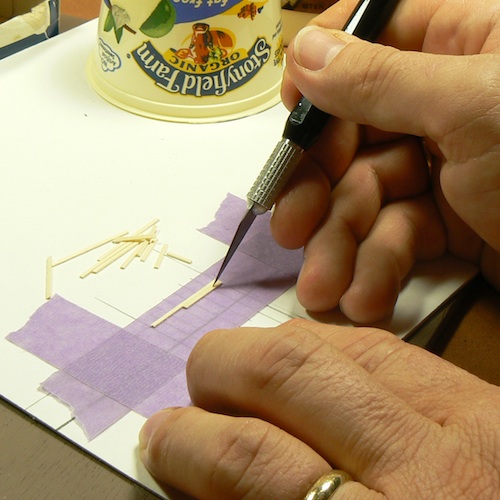
In the smaller scales or for a rustic model, I'll often cut the joists to length using the guidelines to cut my joists. I also use a Chopper and set a stop to cut joists of the same length.
Having cut the joists, glue the joists in place using the guidelines to help keep them evenly spaced.
All the joists in place.
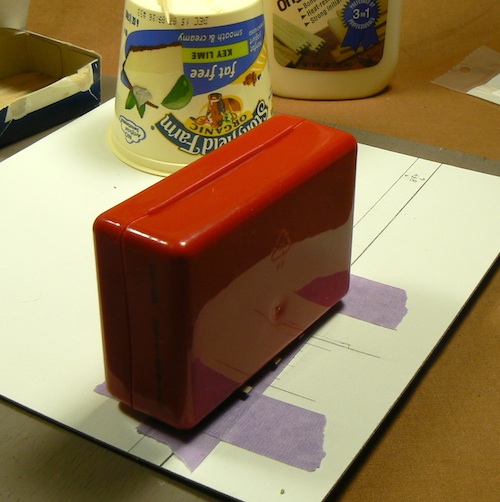
Now comes the part at which I stink: the waiting. It is time to weight down the joists and let them dry thoroughly. I used a Sucrets® box filled with pennies for a weight. In larger scales you will need something more substantial.
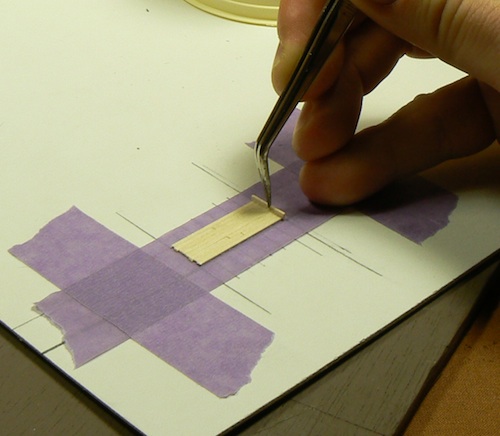
Okay, they've dried enough! You can stop here if you like, or add some beams. If you do add beams, use the guideline to place them neatly. Apply a drop of glue to each joist where you will be applying the beam.
Use tweezers to set the beams in place.

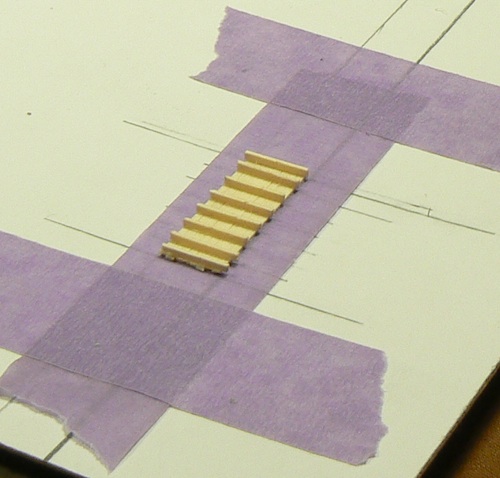
All the beams in place.

Weight and wait is the name of the game. Let them have time to dry.
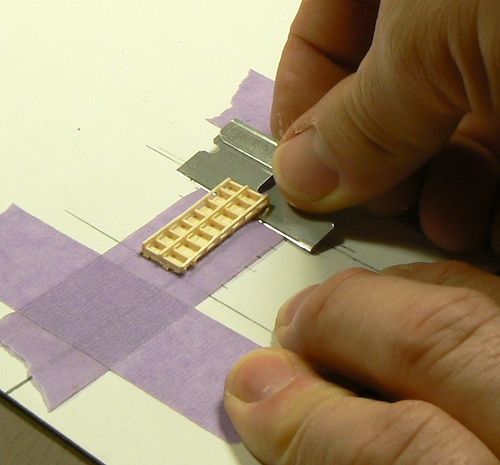
Okay enough drying! Time to separate the dock from the jig. This can be a little tricky, especially in the smaller scales. I generally run a thin metal strip or a single-edge razor blade under the dock to remove it from the tape. Work slowly or you may wind up with bits of wood and shattered dreams on your work surface.
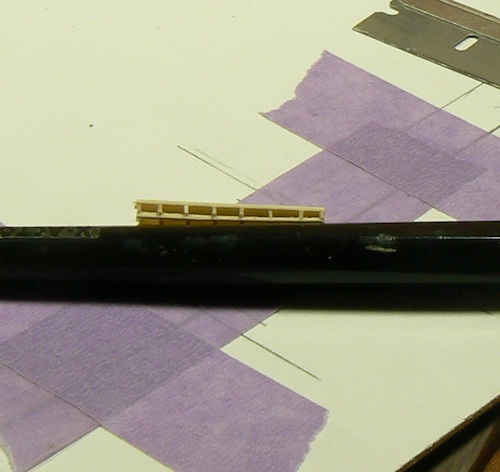
And here is the finished Z-Scale loading dock resting against a #11 hobby knife.
As I am able, I'll add other ways to use masking tape to create precision parts that are quite delicate and small. I'd love to hear how you make use of masking tape jigs in your modelmaking. mthduggan@pawofabear.com
Paw of a Bear News

![]()
Some model railroading sites that I regularly read and highly recommend.